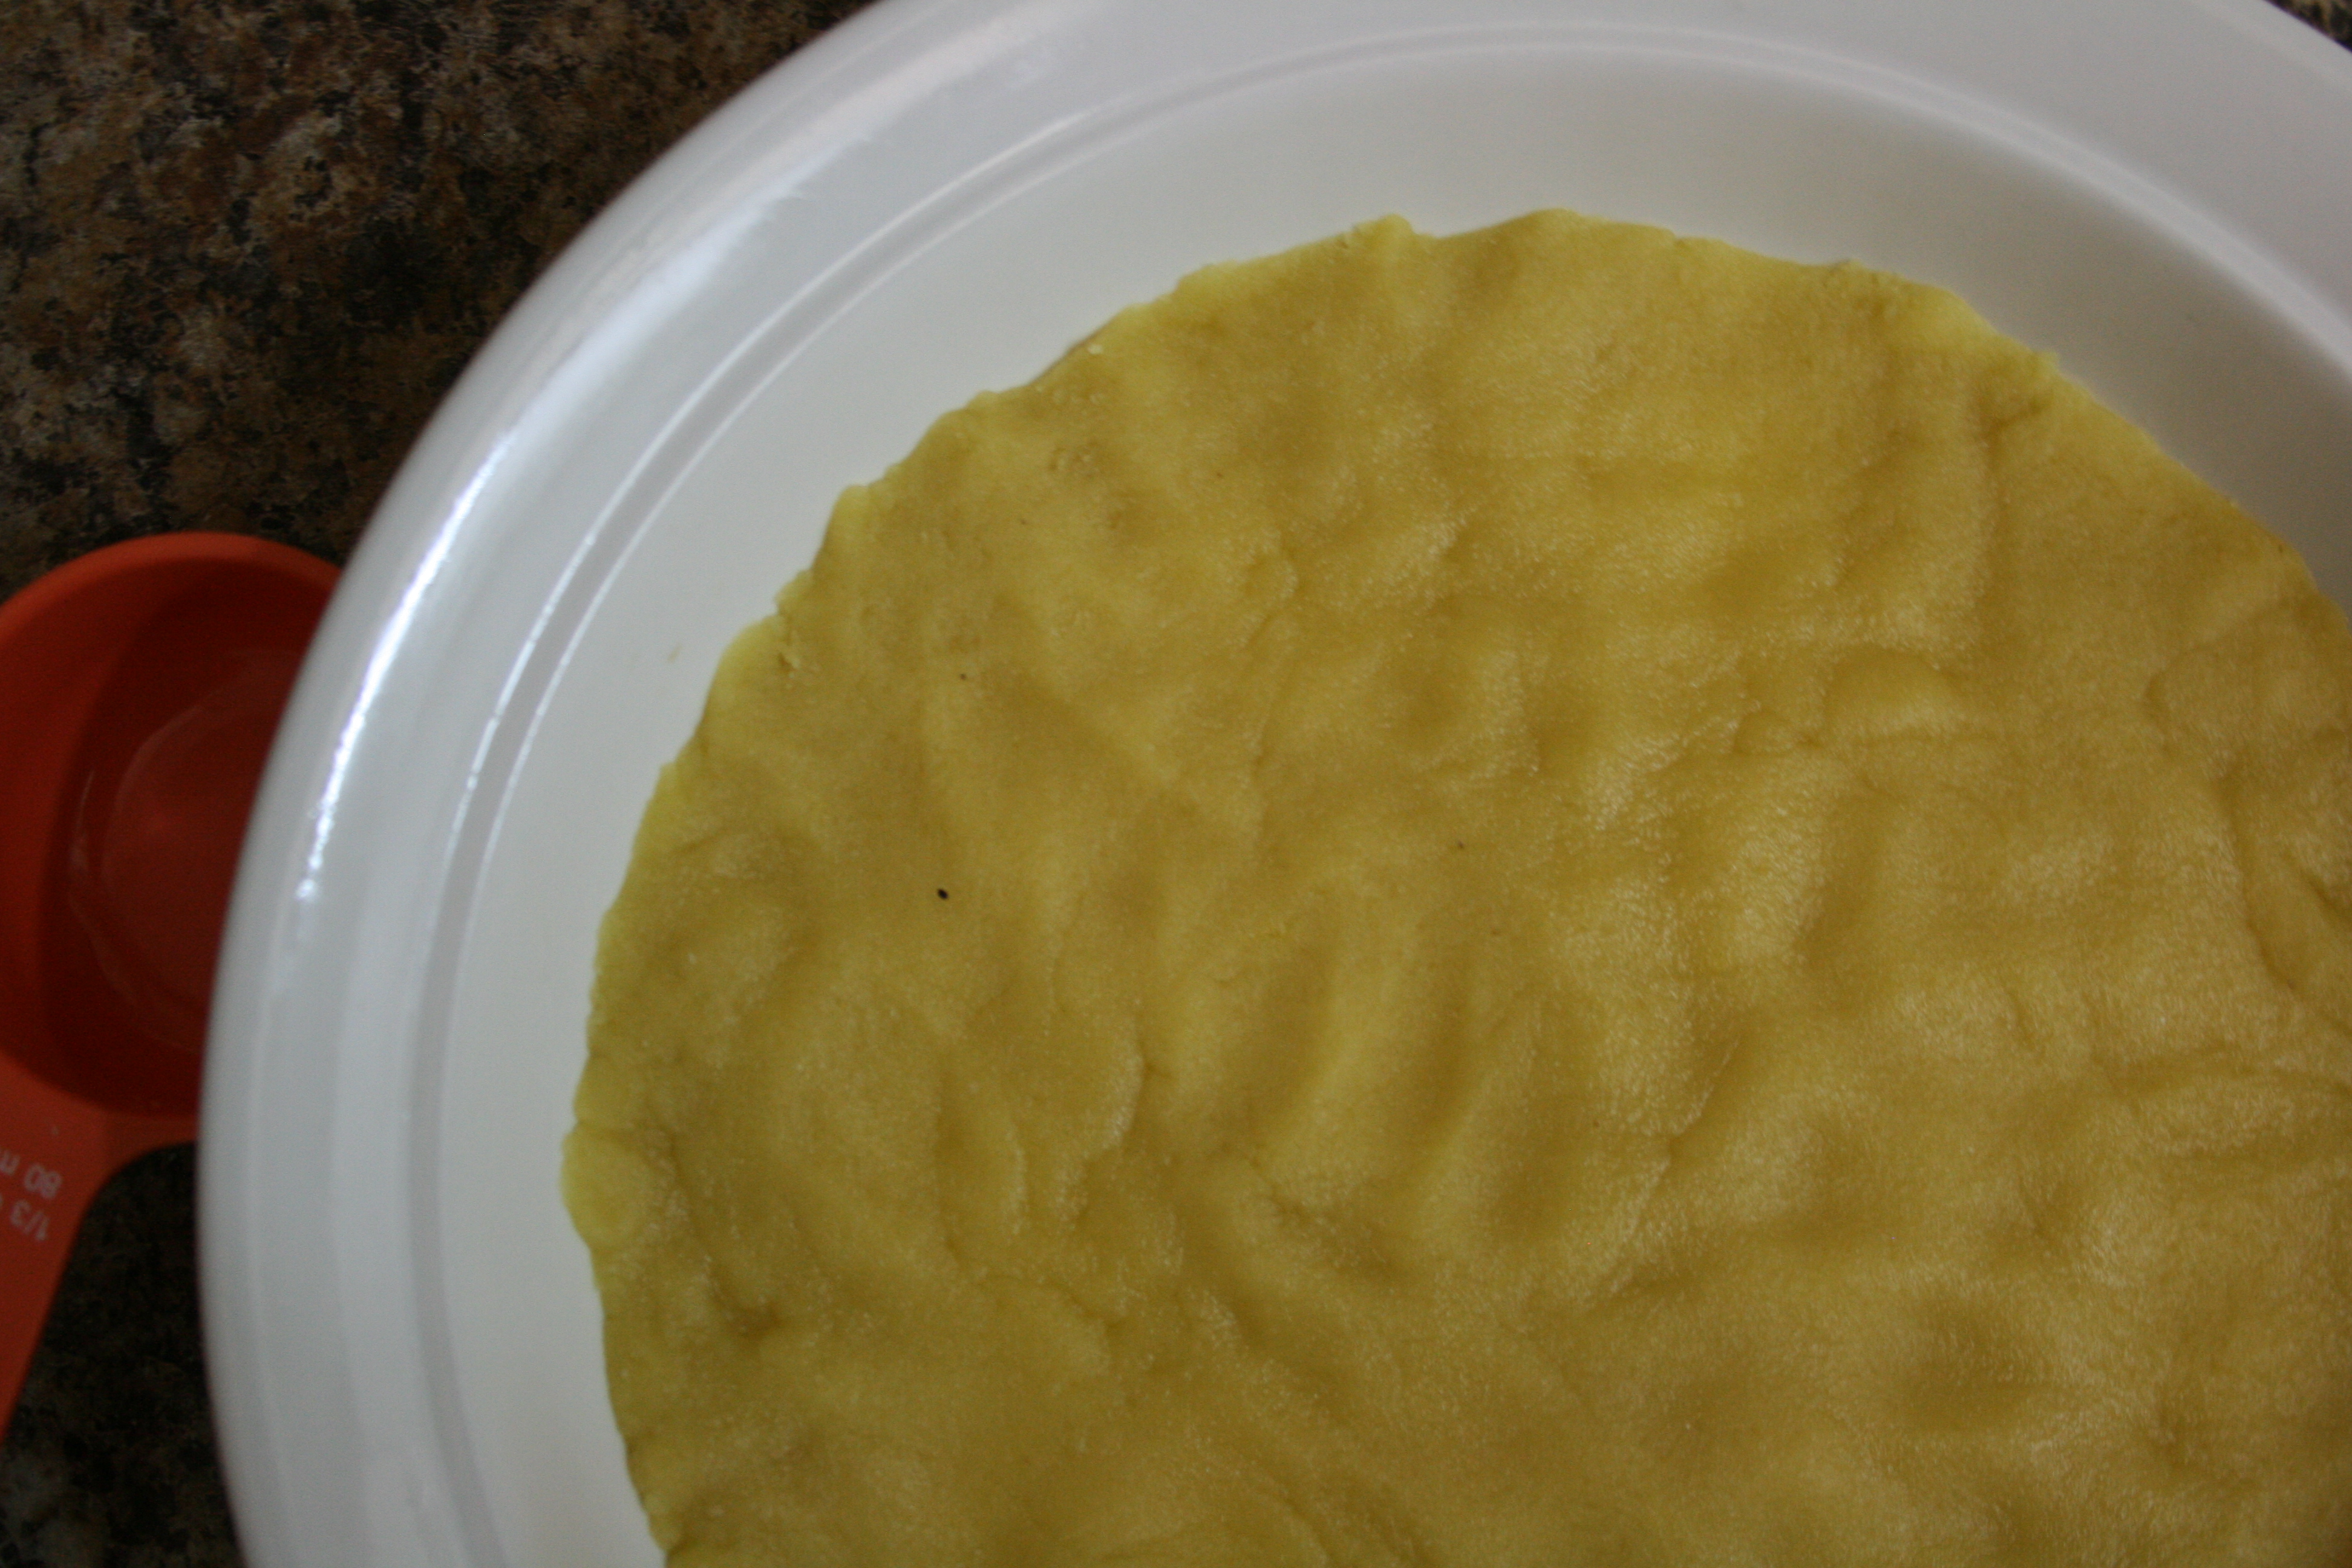
“Hmmm, okay this is definitely almond flour crust,” my husband said taking his first bite from the pizza.
“Nope, guess again,” I replied.
“Quinoa?”
“What? Quinoa? No! It’s cauliflower!”

“Hmmm, okay this is definitely almond flour crust,” my husband said taking his first bite from the pizza.
“Nope, guess again,” I replied.
“Quinoa?”
“What? Quinoa? No! It’s cauliflower!”
There are a plethora of Afghani restaurants in my locale these days. Crowd favorites include Watan and Bamiyan but now we have a new contender. Naan & Kabob is the latest restaurant to add itself to the ring. We visited Naan and Kabob during opening week. I was expecting fairly generic Afghan cuisine that you would find anywhere else. Though I am happy to report that the dishes far exceeded our expectations along with the lovely decor.

Looks rather inconspicuous

Hello my fellow travellers,
A friend of mine recently shared The Elliot Homestead’s recipe on Larabars. You can find Larabars in your local organic grocery stores and they sell at 3-4 bucks a pop. Quite pricey if you ask me! After going through the Homestead recipe, I thought these would make a great addition to any kitchen and are SO easy to prepare. Added bonus is that these Larabars are made of all natural ingredients – no artificial sugar, gluten free, and guilt free.

Ready to eat
The Larabars are also cheap to put together. I bought a big box of pitted dates (1 kg for $5) and already had nuts and shredded coconut on hand. The only change I made to this recipe was instead of making separate flavors I combined it into one coconut chocolate Larabar (almonds, organic shredded coconut, dates, and gluten free chocolate chips). And might I say these turned out fantastic. I whipped them up right after breakfast in my food processor and was done in half an hour from start to finish.
I also found the recipe needed more dates than the one cup it called for. You need a nice sticky mixture so they don’t fall apart on you. So add more dates but make sure you keep taste-testing so the Larabars don’t taste overwhelming of date and less of the other flavors.

Before

After

Try these out and let me know what you think in the comment section below!
Hello my fellow travellers,
I was going through our local grocery flyer and noticed that spaghetti squash was on sale. I was intrigued as I saw quite a few recipes floating around on the interwebs that used the squash as a base for dishes.
I decided it was time to finally try spaghetti squash!

The ‘spaghetti’ tasted delicious with the homemade tomato sauce (that I whipped up in 20 mins) along with kalamata olives and feta cheese. This is a great easy, delicious vegetarian l0w-carb lunch you can have that will fill you up even with a small serving.
Ingredients
1 spaghetti Squash
1 tbsp ghee or butter
1 onion, chopped
1 clove garlic, minced
1 1/2 tomato, chopped
1 cup water
1/2 tsp oregano
1 tsp salt
1 tsp red chilli powder
kalamata olives, add to liking
feta cheese, add to liking
Method
In the future I intend to try this dish with cubed chicken breast or shrimp. The sauce and spaghetti are so versatile you can pair it with many different spices and meat.
Enjoy!
Hello my fellow travelers,
Today’s recipe was an experimentation of sorts. I made lasagna a few weeks back (in typical layered fashion) and decided to try a different variation a week later. Although my lasagna roll ups decided to spread into squares while baking, they made great little sections perfect for serving. Traditional lasagna usually cuts up in sloppy squares though of course, looks are not everything because these tasted awesome!
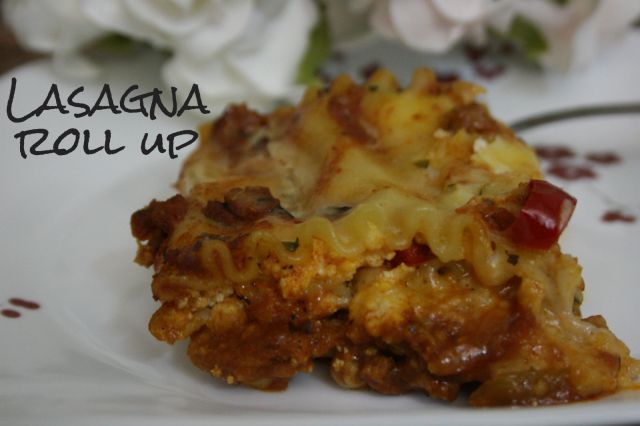 Kind of a roll up?
The best part about the lasagna is the sauce. I let it simmer for a good hour, which I believe is it what really gives it the characteristic Italian flavor. Plus fresh basil and parsley don’t hurt.

Ingredients
Sauce
1 small onion
4 garlic cloves, crushed
28 oz. canned crushed tomatoes (organic, bpa free)
8 oz. tomato paste can (organic, bpa free)
1 lb organic ground beef
1/2 cup fresh basil, chopped
4 tbsp fresh parsley, chopped
2-3 tsp salt
1 tsp pepper
1 tsp Italian seasoning
1/2 red bell pepper, chopped
1/2 cup water
Cheese
450 g ricotta cheese, (I like Silani brand)
1 egg
2 tbsp parsley
400 g mozzarella cheese, shredded
200 g parmesan cheese, shredded
12 lasagna noodles
Method
Enjoy!
If you love chocolate as much as I do then Dunk’n Dip would be the perfect place for you. The recently opened Resto and Chocolate Lounge on Lakeshore Rd., Mississauga offers a variety of dishes mainly focusing on desserts drizzled in fountain chocolate.

The decor is cute and modern with wooden floors, deep couches, and really nice napkin arrangements. They also give you water in a cool glass decanter. The hostess was very helpful when we spent close to 20 minutes deciding from the menu. We went in an hour or so after opening time and the place was empty. We sat right by the windows watching traffic flow on the street.
Hello my fellow travellers,
Hosting a brunch sounds easy but menu planning is a bit more difficult. You want to serve foods that are perfect for either lunch or breakfast. Generally brunch items consist of muffins, quiches, croissants, and other light foods. Instead of heading to the store to pick up a box of croissants, why not make your own homemade version for half the price?

Hello my fellow travellers,
As a part of the brunch series, I’m looking at different foods you can serve that are a bit different than the regular quiche or muffins. Hummus is perfect for such an occasion along with a nice, soft loaf of Olive Turkish bread (bought from Cobs Bakery). The hummus is a great dip for the bread. If you can’t find Turkish bread in your locale, you can either make it at home or find bread from a bakery that is soft, aerated, and slightly chewy in texture. Bakers are your friends, ask them to help you find something similar to Turkish bread.

Hello my fellow travellers,
Rarely do I make such grandiose claims about a certain food being the ‘yummiest’ but I have to admit, these grain free chocolate cookies that I tried are possibly the best I’ve had (and I’m saying this from the perspective of trying most flour based recipes out there in the cookieverse). These are soft but chewy, chocolatey, and actually pretty healthy (Well if you eat them in moderation. I ate 5 in one day. Woops.)

Hello my fellow travellers,
Today’s recipe is an inspiration from all the Paleo blogs I’ve been visiting over the past few months. I threw together this quiche after finding a great almond flour crust recipe that paired great with ground turkey.